“Let Me Tell Ya” Column
Rocks in a Hard Place: Tackling Boulders in Cable Tool Drilling
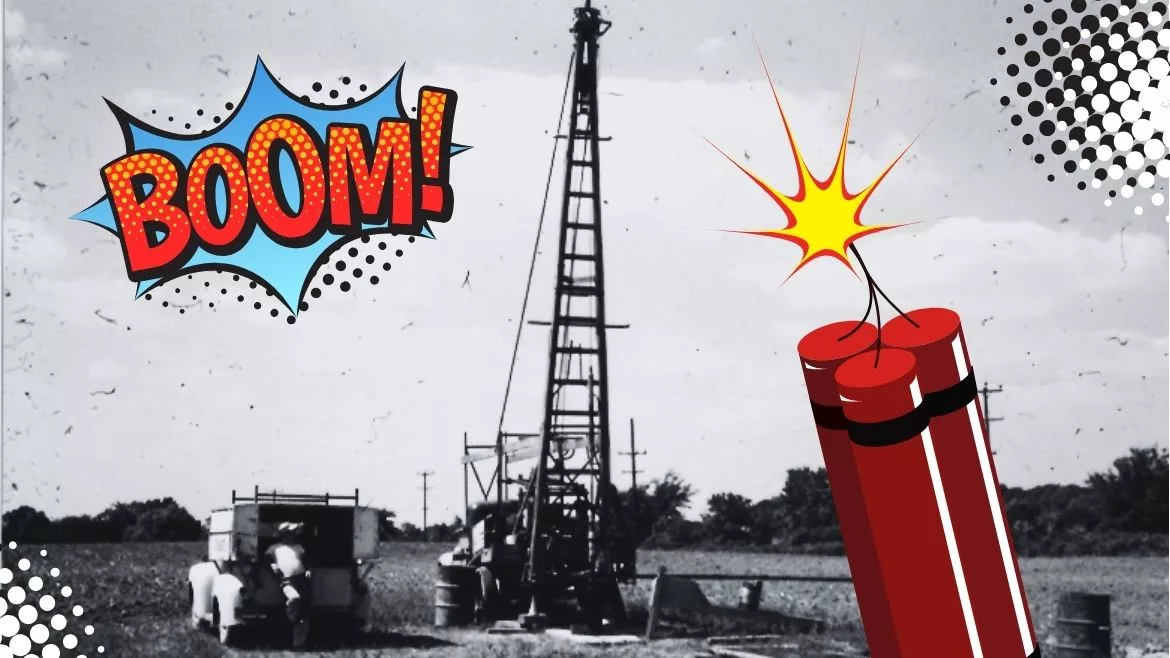
While boulders are a formidable foe for any driller, there may just be an 'explosive' solution
Well, readers, due to some unusual circumstances, I have not written a column in 3 months. Thankfully, from my perspective, I’m back writing with a new publisher and a new editor, which is motivating. I think I will be writing for quite a few more months. Today, I’m going to write about my favorite subject – you guessed it – cable tool drilling. If you read any of my previous columns (View the full Schmitt's 'Let Me Tell Ya' series), you know I love this method of drilling, but today, I’m going to write about a real problem for cable tool drilling: encountering boulders.
Now, when I say boulders, I’m not talking about bedrock but about what most people would simply call rocks. They come in many shapes and sizes, but most of them are round like a ball and very, very hard. I have heard of boulders as large as an automobile and as small as a baseball, but all of them are hard and difficult to deal with if you hit them drilling by the cable tool method.
Boulder Buildups in Michigan
Boulders occur in the unconsolidated drift, and in southern Michigan, we have a lot of that. If you go west from my location, you can hit the bedrock in some places at a depth of 5'. I understand that in far northern Michigan, you can scrape the drift off with your foot and start right on the bedrock. I am told that in some places in Michigan, the drift may run over 400' deep, so you can see the geology and admire the fact that our state varies wildly.
In the area where I have drilled most of my wells, they were finished in the unconsolidated drift in sand and gravel. In most cases, boulders occur in the first 50' of drilling. Although, I did hit one once at 155' deep. Most boulders occur in solid clay, but they can show up in sand and gravel as well. If you are drilling a 3" or 4" cased well (the smallest size you can reasonably drill by the cable tool method) and you encounter one of these boulders head-on, you are probably going to be okay. With a good string of tools and a properly sharpened bit of the correct hardness, you can bust the boulder up into small sections, drive your casing through, and go on to better drilling and, hopefully, a water-bearing formation.
Addressing Boulder-Based Blunders
While you may be able to bust a boulder up and find success that way, it is far more likely that you will encounter the edge of the boulder, and if it is in hard clay, it is not going to move, and it is going to bend your casing. I have been told that if you are drilling 6" or larger, boulders are not as much of a problem as in the smaller holes. In my career, I only drilled a few 6" holes and one 8" hole, so I cannot comment on that fact.
If your 3" or 4" casing is bent by a boulder, the first indication is that the tools don’t drop very well at all. A second indication is that the drill stem’s lower part and the drill bit’s upper part will be abraded or roughed up. Now, you might think to yourself, “Oh, great – the casing is bent and will have to be pulled out.” Generally, the lower 4' or 5' of the casing is the bent part, and that bent part will have to be cut out and scrapped, or you may just go to a new first section of the casing.
Now, you have to deal with the boulder, or the same thing will happen again. To do this, put the casing back in; sometimes, it will drop in relatively quickly, and sometimes, you will have to drill and drive it to just above the boulder. In any event, you have lost time and not made any money as you drill the distance from the surface to the boulder two times. So, how can you solve this problem without wasting time, damaging supplies, or losing money? Many will say the answer to the boulder dilemma is to blast it with dynamite. This, too, is time-consuming and a nonproductive effort.
An ‘Explosive’ Solution
I always tried to stop a foot or so above the boulder and, if I could drill some open hole past it, I would do so. I would then lower a dynamite “bomb” down by the boulder, hopefully right next to it, touch it off, and it would be “goodbye, boulder.”
Now, the process is more complicated than just that. My dad and I usually used 6 or 9 sticks of dynamite. My dad believed that dynamite would not go off in the water; he may have been wrong, but I don’t really know. We would have a tin smith make a light sheet metal tube that would hold 3 sticks of dynamite in a triangle and load 6 or 9 sticks in this tube. We would then insert 2 electric blasting caps into two of the upper dynamite sticks, attach these cap wires to an electric cord, fill the metal tube with sand, and cap it off with tar, attaching the electric cord so it held the “bomb.”
We would lower the “bomb” into the hole by the boulder, and it was necessary to keep accurate measurements on the drill line and the electric cord so that the dynamite charge was right next to the boulder. We then pulled the casing back at least 5’ and sometimes a little more. If we were not down too deep, we could pull the casing with the casing reel. However, if we were quite deep, we had small diameter casing jars that would clear the electric cord, and we could still bump the casing back.
Rigging up these casing jars meant more lost time and no income. We then filled the casing with water if it could hold it. We moved our service truck away at least 50' or 100' if possible, unrolled the electrical cord, and touched it to the service truck’s battery. Immediately upon contacting the battery terminals with the wires, the charge would go off with a rather modest “thump,” and the ground would shake just a little bit.
Sometimes a little bit of water would gush out of the casing and sometimes a whole lot. The less water ejected, the more effective the blast. The ejected water being kind of dirty messed up the mast of the drill rig but it could be washed off.
A word of caution here: when opening the dynamite tubes to insert the caps, always wear gloves, do not touch the dynamite itself, and always use non-metal tools if you have to poke a hole for the cap. If you don’t do this, you will get a headache.
Likewise, after the blast went off, some yellowish gas would sometimes come out of the casing, stay far away from the casing as this gas will give you as bad a headache as you have ever had, at least in my experience.
Ending With a ‘Bang’
After the gas has dissipated, you can run the tools down the hole and go back to drilling and driving the casing and that boulder is history. You may or may not have to blast again on the same hole depending on the geology. Whether you blast once or more times, you have lost time and money but it is something that sometimes has to be done.
A word of caution here: read this carefully. In the old days, in the 1940s and 50s, we just went to a hardware store, bought the dynamite and caps, had them make the tin tube, and went back to the job. That was then, this is 2024.
Today you had better make sure you are legal with the Federal Government ATF section (Alcohol, Tobacco and Firearms) and that you are legal in your state likewise as state laws vary greatly when it comes to using dynamite, and even possessing or transporting it.
Don’t get caught with a nasty fine — or worse. There, you have a short version of dealing with boulders – a nasty and expensive part of cable tool drilling. Special thanks to David Traut from Minnesota and Charles Sebastian from Michigan, both successful drilling contractors who gave valuable advice on this last matter of being legal.
As I have gone extra long on this subject, I will not write about my infamous lawn. However, I will say we have had a cool and wet spring here in Michigan.
At the end of the day, drilling is a dangerous occupation, and blasting either above ground or down in a well is even more dangerous. Be very careful if you are blasting in a well or elsewhere. If you don’t know what to do, ask someone who does before proceeding.
Looking for a reprint of this article?
From high-res PDFs to custom plaques, order your copy today!


