The Most Important Part of a Spudder Drill String: The Drill Bit
Bit in Cable Tool Applications both Cuts, Mixes Cuttings
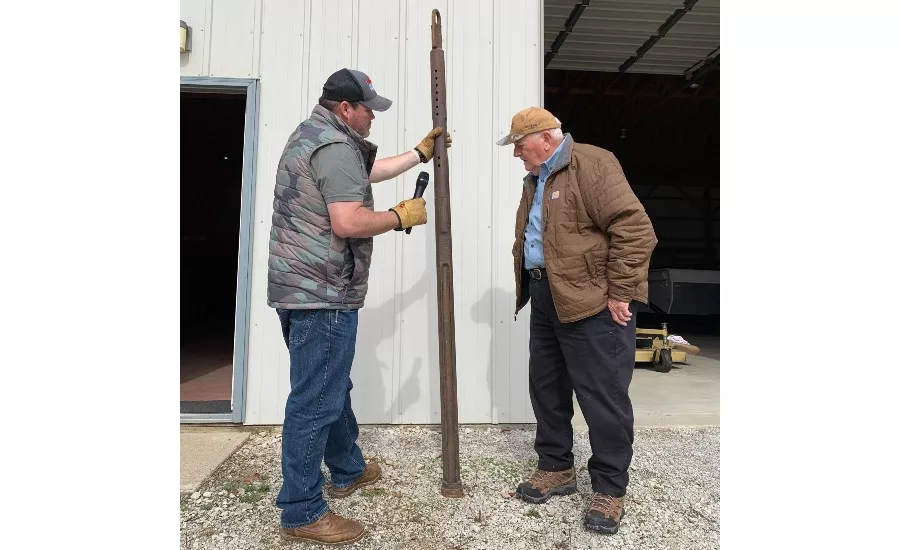
The Driller contributors Brock Yordy, left, and John Schmitt, discuss a cable tool drill bit on a recent visit.
Source: Jeremy Verdusco
Having discussed the wire line socket, drilling jars (which we may or may not use) and the drill stem, we come to the most important part of our cable tool string: the drill bit. Of course, all parts of the drill string have important roles, and we fail without any one of them, but the drill bit probably ranks first among equals. Whether in unconsolidated or consolidated (rock) formations, the drill bit makes the hole. Cable tool drillers can choose from several styles of bits. I’ll start with what we call a “regular” bit — by far the most popular — and discuss some different bit designs in future columns.
The end, or worm’s eye view, of a regular drill bit looks like a letter H with rounded sides. On a well-dressed bit, the sides make up about two-thirds of the circumference of the hole. The remaining open area is called the water course. This water course allows the drill bit to drop and creates mixing of the slurry (part of what the drill bit does). The bottom of the bit from a side view formed a flat V shape. The harder the drilling — especially in rock — the flatter the V wants to be. In unconsolidated drilling, the V can be a little sharper, but if it is too sharp the mixing effect of the bit suffers. In my experience mostly drilling in clay, sand and gravel, the V needs to be at least 90 degrees minimum and up to 135 degrees.
So the drill bit cuts the hole and mixes the cuttings with water so they can be bailed out. In bedrock drilling, the bit must crush the rock, beat up the crushed particles and mix them with water to make the slurry. Unconsolidated formations like clay and clay and sand mixtures mix quite well with water, although we want to give the bit plenty of time to mix the slurry. In pure sand, it is impossible to keep the sand grains in suspension. We must remove these with a bailer and use the bit to keep the end of the pipe clear, especially when getting ready to set a well screen.
The gauge or diameter of the bit can be almost any dimension we choose, although in practice bits usually come in 3-, 4-, 5-, 6-, 8- and 10-inch sizes, on up to 24-inches. Larger-diameter drill bits fall into a special, unusual category unto themselves that I will discuss briefly later.
Over time and use, abrasion from the drill hole slowly reduces the gauge or diameter of hole that a bit cuts. It is best to keep the gauge out to full diameter, even when driving pipe, as it goes easier with a full-diameter bit. Keep bits at full diameter using one of two methods. The first involves heating the bit almost yellow hot and using a sledgehammer forge it out to full diameter. This is largely a lost art — at least here in Michigan. The other method involves a heavy machine (which you could at one time buy) powered either electrically or hydraulically, that would forge the bits quit quickly. This comes in quite handy if you have a large number of bits to dress, which is what we call forging them to gauge. The whole forging process appears simple but you really need to know what you are doing. Even the heating of the bit has to be done properly, including the design of the furnace, otherwise the bit could be ruined. I know because I’ve done this.
I have an old cable tool catalog that shows plans for a so-called derrick forge that could heat bits for forging. You could buy the forge less the fire brick it was designed to use. Most of these fired with fuel oil, I believe, though some fired with natural gas. The same catalog lists an anvil block and an anvil bridge to lay the bit down onto for forging. It also lists slack tubs to quench the bit in water for hardening after dressing. On larger bits one could purchase a bit ram that was, in effect, a heavy steel bar moved back and forth by a crank on the catheads of the rig. These were much more effective than a sledgehammer. If you are forging bits to keep them sharp and doing large diameter work I believe one of these rams would be essential.
After you forge the bit to its proper diameter (and there are gauges used to check this diameter), it needs to be hardened. Reheat the bit to red-hot and then immerse in water to harden the steel. Remove the bit while it is still quite hot, so as to temper the steel and make it tougher. I haven’t dressed a bit in a long time and I can only remember a few things about the tempering process. As I said, dressing a bit by forging and then hardening and tempering is a real art.
If we drill in unconsolidated formations —quite common here in southern Michigan — or soft rock like sandstone and shale, we can build the drill bit up to proper gauge using an electric welder and so-called hard-facing rod. The selection of the hard facing is important. I had good success using a rod that contained a lot of nickel. In this process, you apply coats of metal with the welder to the cutting surfaces, build the diameter up to oversize, and then ground the bit down to proper gauge or diameter with an electric grinder. This is not as easy as it sounds, as the hard facing is difficult to grind. But this is also a lot easier than forging and you do not need the derrick forge, anvil block or other tools needed for forging. Some drillers I knew had better results when building up a bit if they heated the bit quite warm with a torch before beginning the build-up process. I have never drilled a foot of hard rock. However, those who have tell me the hard-facing process does not work well for this type of drilling, as the hard facing tends to chip off.
The drill tool catalog that I have lists drill bits from 3-inches diameter and 50 pounds up to 24-inches diameter and 2,400 pounds. In my area of Michigan, anything over 16-inches would be unusual in water well work. The shortest bit listed is 3½ feet long and the longest is 8 feet. On any rig that I have been around, bits were usually 4 or 5 feet long. A longer bit tends to drill a straighter hole and adds extra weight, which is always desirable in a cable tool hole. Next time I will discuss some specialty bits including spudding bits, twisted bits, star-type bits and underdigger bits (sometimes called an underdog).
The weather here in Michigan has not been very nice this fall. Is is usually our best season, but not so in 2021. We have had many cloudy and rainy days, and then the weather turned pretty cold. We have had only a few of what I would call “nice” fall days —warm but not hot, low humidity and sunshine. I write this in the very first part of November and yesterday I did a short job at a cottage on a lake some miles away from my shop. There was a nasty wind blowing off the lake and I was glad I had a heavy coat. Our lawns are still green but, for sure, we will soon plow snow rather than mow. As I said last time, continue to work safe and keep on drilling.
For more John Schmitt columns, visit www.thedriller.com/schmitt.
Looking for a reprint of this article?
From high-res PDFs to custom plaques, order your copy today!


